TL;DR: You get a new laptop. Instead of spending a day manually reinstalling everything from memory, you let Claude do it. Claude inventories your old machine, SSHs into the new one, copies your config files across, runs a bootstrap script, and fills in whatever is left. This guide covers the whole process - including the WSL networking quirks that will trip you up - and shows you how to drive it with Claude rather than doing it by hand.

Pick Your Approach
Before reading the step-by-step guide, decide how you want to do this. There are two options that skip most of the manual work.
Option A - The Shell Script
Download analyze-machine.sh and run it on your old machine. It detects everything installed, asks you what you want to transfer, and generates a ready-to-run transfer script tailored to your actual setup.
curl -O https://thedecipherist.com/articles/setting-up-your-work-pc/analyze-machine.sh
chmod +x analyze-machine.sh
bash analyze-machine.sh
It asks for the new machine's IP and username, tests the connection, walks through each category (SSH keys, npm auth, GitHub CLI, Claude config, hosting providers, etc.), and outputs a transfer-YYYYMMDD.sh you can inspect and run.
Option B - The Claude Prompt
If you have Claude Code on your old machine, this is the most flexible option. Paste the contents of claude-transfer-prompt.md into a Claude session. Claude will run the analysis itself, ask the questions interactively, handle the SSH setup walkthrough, and generate the transfer script - adjusting based on your answers. You can ask follow-up questions and it will adapt.
Option C - Do It Manually
If you want to understand exactly what is happening - or something goes wrong and you need to debug - the full step-by-step walkthrough is below. The script and prompt are both doing exactly what the guide describes.

Before You Start
Keep the Laptop Plugged In
This sounds obvious but people always forget. A full dev environment setup takes time. If the laptop goes into standby halfway through a Docker install or a global npm run, you end up with a half-broken state that is annoying to recover from.
Plug the laptop in before you start. Then go to Windows Settings, Power, and set sleep to "Never" while on power. You can also disable it from WSL:
sudo systemctl mask sleep.target suspend.target hibernate.target hybrid-sleep.targetDo this first. Everything else depends on the machine staying awake.
Same Network Requirement
Both machines need to be on the same local network - same router, same Wi-Fi, or connected via ethernet. This approach does not work over the internet without a VPN or tunnel. If you are at the office setting up a new work laptop, just make sure both machines are on the same Wi-Fi or plugged into the same switch.
Phase 0: Inventory the Machine You Already Have
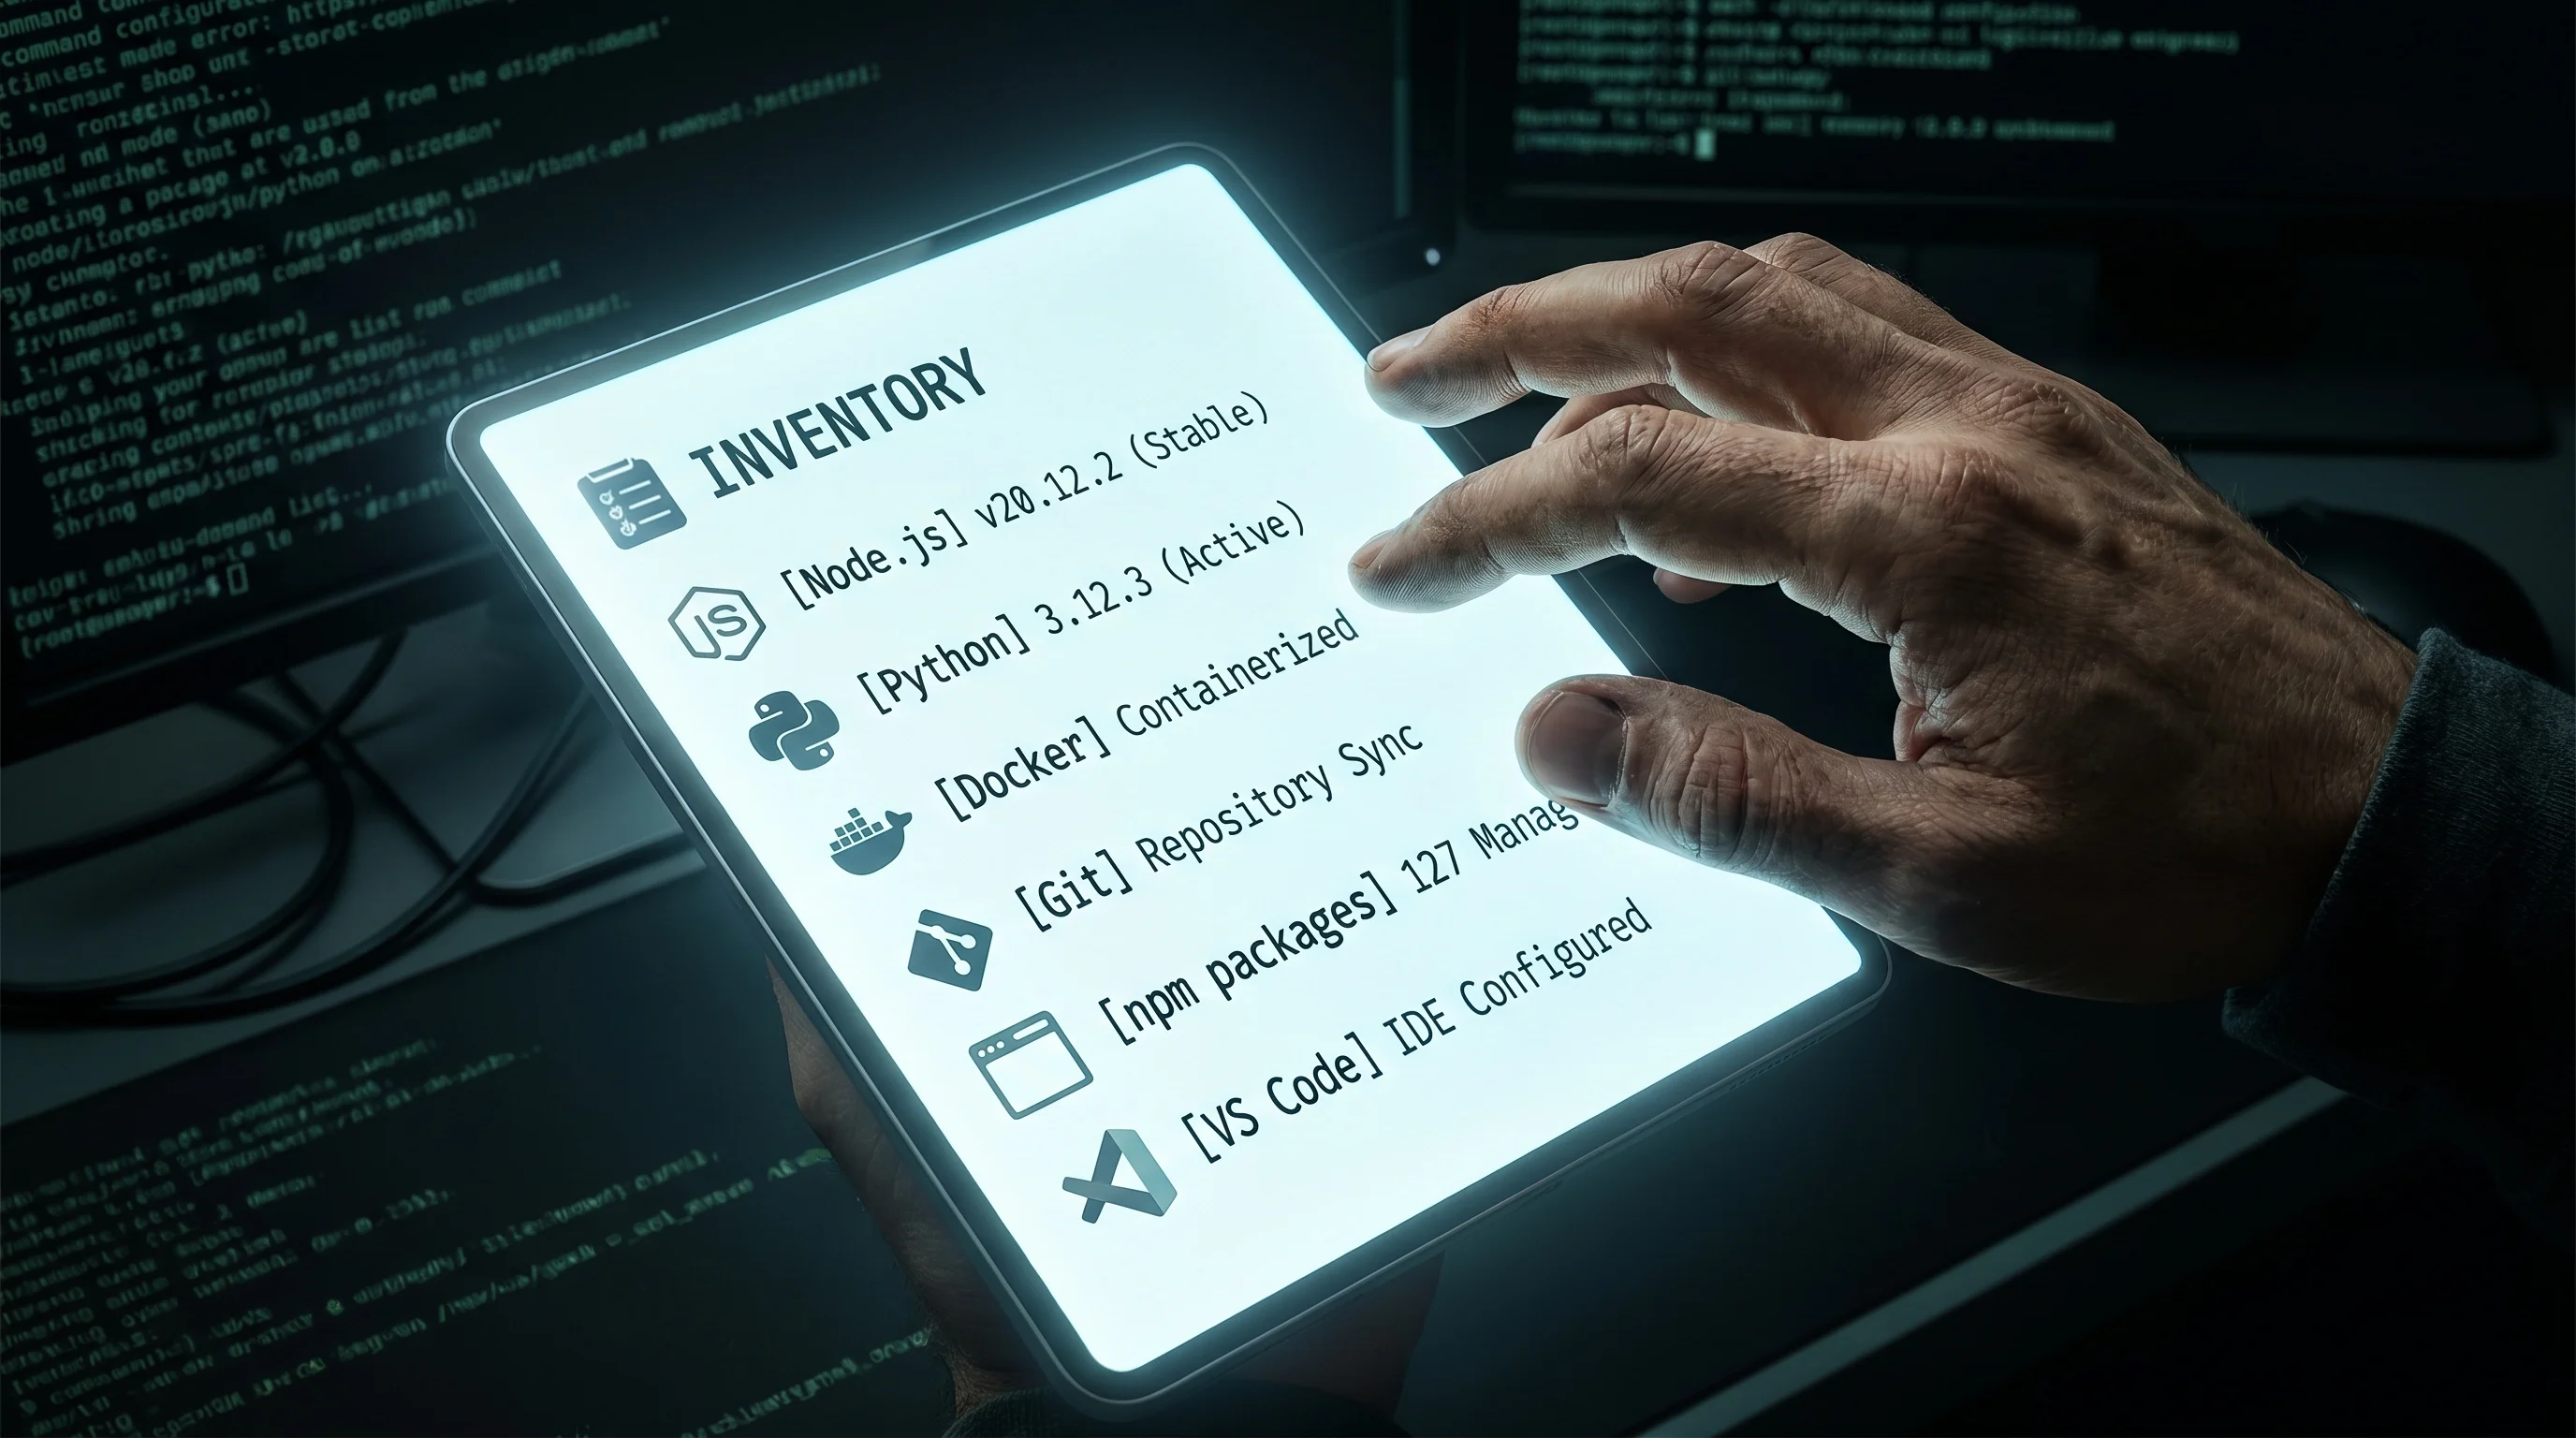
Before touching the new machine, take a snapshot of the old one. If you are using Claude to drive this, just ask:
Inventory this machine for me. I want to know: Node version and global npm packages,
Python version and user pip packages, VS Code extensions, Docker version, gh version,
and what's in my .bashrc. Give me a summary I can use to replicate this on a new machine.
Claude will run all of this and summarise it for you. If you want to run it yourself:
# Core tool versions
node --version; npm --version; pnpm --version
python3 --version; pip3 --version
docker --version; git --version; gh --version

# Global npm tools - this is usually the list you forgot about
npm ls -g --depth=0

# Python user packages
pip3 list --user

# VS Code extensions
code --list-extensions

# apt packages you installed manually
apt-mark showmanual

# Your shell aliases and PATH changes
cat ~/.bashrc
cat ~/.bash_aliases 2>/dev/null
That list is your shopping list. Everything below is working through it in the right order.
If WSL Is Not Installed Yet
If the new laptop is a clean Windows machine with no WSL, do this first from an admin PowerShell on the new laptop:
wsl --install -d Ubuntu-24.04Reboot when it asks. On first launch Ubuntu will ask for a username and password - this is your Linux user, separate from your Windows login. Use the same username you use on your existing machine so paths and shell prompts match.
While you are in PowerShell, create C:\Users\ to cap how much memory WSL grabs:
[wsl2]
memory=8GB
processors=4
localhostForwarding=true
Then update the base system inside Ubuntu:
sudo apt update && sudo apt upgrade -yOnce that is done, come back here and continue.
Step 1: Make the New Laptop Reachable via SSH
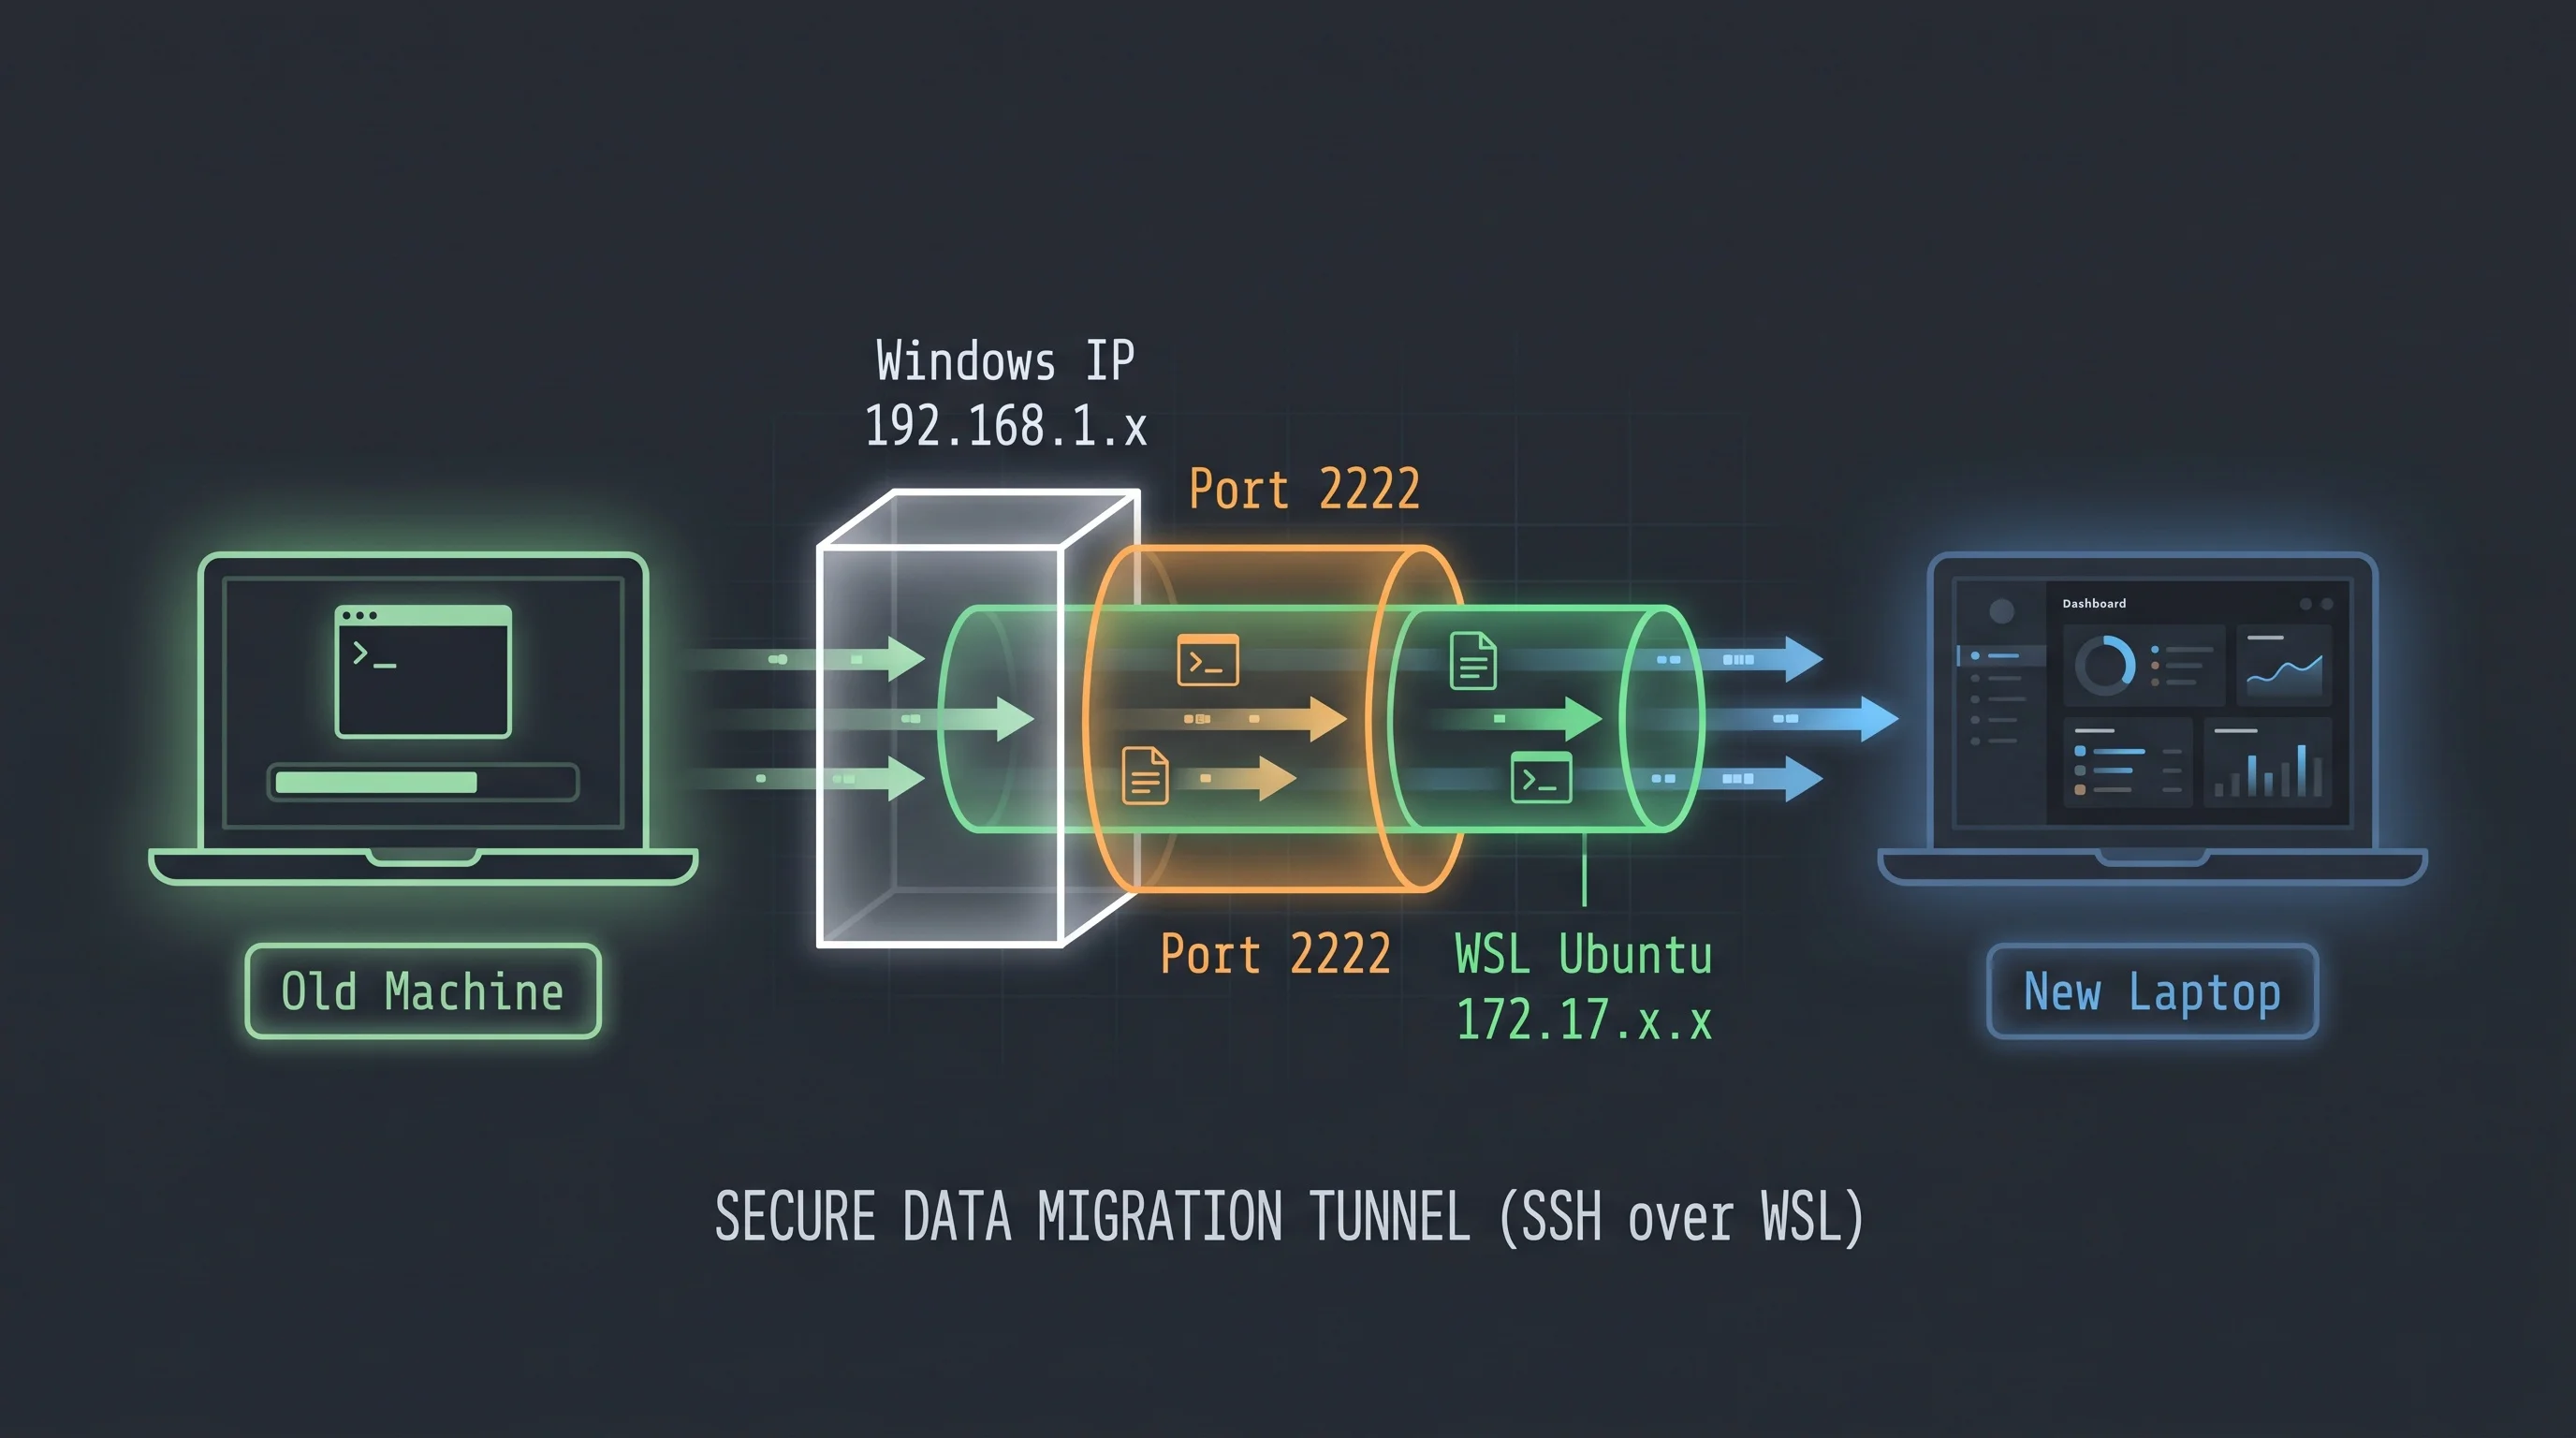
WSL does not run an SSH server by default, and even if you install one, Windows does not automatically route outside connections into it. You need to fix both. This step is done entirely on the new laptop.
1a. Install and start SSH in WSL:
sudo apt install openssh-server -y
sudo service ssh start
1b. Get the WSL internal IP - this is different from the Windows IP:
ip addr show eth0 | grep 'inet '
# Output: inet 172.17.159.133/20 brd ...
# Your WSL IP is the number before the slash: 172.17.159.133
1c. Get the Windows IP of the laptop - open PowerShell or Command Prompt on Windows (not WSL) and run:
ipconfig | findstr "IPv4"Look for the entry under your active adapter - "Ethernet adapter" or "Wi-Fi". It will be something like 192.168.1.27. This is the address your old machine will connect to.
1d. Open PowerShell as Administrator (right-click the Start menu, select "Windows PowerShell (Admin)" or "Terminal (Admin)") and run both commands:
# Route incoming connections on port 2222 to WSL's SSH server
# Replace 172.17.159.133 with your actual WSL IP from step 1b
netsh interface portproxy add v4tov4 listenport=2222 listenaddress=0.0.0.0 connectport=22 connectaddress=172.17.159.133

# Allow port 2222 through the Windows firewall
netsh advfirewall firewall add rule name="WSL SSH" dir=in action=allow protocol=TCP localport=2222
Why 2222 instead of 22? Windows sometimes runs its own OpenSSH server on port 22. Using 2222 avoids that conflict.
The port forwarding rule persists across Windows reboots. The only time you need to redo it is if WSL gets a new internal IP, which can happen after a WSL reinstall.
Step 2: Set Up Key-Based Authentication
From your old machine, generate a dedicated key for this connection. Give it no passphrase so the setup scripts can use it without prompting:
ssh-keygen -t ed25519 -f ~/.ssh/id_ed25519_laptop -N "" -C "laptop-setup"No passphrase is fine here because this key is only for automated setup on your local network. Once setup is done you can leave it or delete it - it is not a long-lived credential.
Copy the public key to the laptop. The first time, you need to do this manually on the laptop's WSL:
mkdir -p ~/.ssh && chmod 700 ~/.ssh
echo "PASTE_YOUR_PUBLIC_KEY_HERE" >> ~/.ssh/authorized_keys
chmod 600 ~/.ssh/authorized_keys
Get your public key from the old machine:
cat ~/.ssh/id_ed25519_laptop.pubTest the connection from your old machine:
ssh -i ~/.ssh/id_ed25519_laptop -p 2222 username@192.168.1.27 "echo connected"If that prints "connected", you are in. Everything from here runs from your old machine.
Step 3: Copy Your Config Files

Now copy the files you want to bring across. Be deliberate - copy configuration, not credentials.
SCP="scp -i $HOME/.ssh/id_ed25519_laptop -P 2222"
SSH="ssh -i $HOME/.ssh/id_ed25519_laptop -p 2222"
TARGET="username@192.168.1.27"

# Create SSH directory
$SSH $TARGET "mkdir -p ~/.ssh && chmod 700 ~/.ssh"

# Identity keys (GitHub, VPS access)
$SCP ~/.ssh/id_ed25519_github ~/.ssh/id_ed25519_github.pub $TARGET:~/.ssh/
$SCP ~/.ssh/id_ed25519_vps ~/.ssh/id_ed25519_vps.pub $TARGET:~/.ssh/

# Git and npm config
$SCP ~/.gitconfig $TARGET:~/.gitconfig
$SCP ~/.npmrc $TARGET:~/.npmrc

# GitHub CLI auth - carries over your gh login so you don't need to re-authenticate
$SSH $TARGET "mkdir -p ~/.config/gh"
$SCP ~/.config/gh/hosts.yml $TARGET:~/.config/gh/hosts.yml

# Environment variables - review this file first (see the Secrets section below)
$SCP ~/.env $TARGET:~/.env

# Fix permissions
$SSH $TARGET "chmod 600 ~/.ssh/id_ed25519* && chmod 644 ~/.ssh/*.pub"
Then write the SSH config directly on the new machine:
$SSH $TARGET "cat > ~/.ssh/config" << 'EOF'
Host github.com
  HostName github.com
  User git
  IdentityFile ~/.ssh/id_ed25519_github
  IdentitiesOnly yes

Host my-vps
  HostName YOUR_VPS_IP
  User root
  IdentityFile ~/.ssh/id_ed25519_vps
EOF

$SSH $TARGET "chmod 600 ~/.ssh/config"
IdentitiesOnly yes is important if you have multiple GitHub accounts - it stops SSH offering every key it knows about, which is what causes the "pushed to the wrong account" failures.
About the gh auth file: Copying ~/.config/gh/hosts.yml transfers your GitHub CLI authentication to the new machine. After copying, run gh auth status on the new machine to confirm it picked it up. If it shows your account and token scopes, you are good - no need to run gh auth login again.
About Docker credentials: Docker on WSL typically uses the Windows credential store via Docker Desktop. That store does not transfer - the credentials live in Windows, not in a file you can copy. You will need to run docker login manually on the new machine after setup.
The scp port gotcha: scp uses -P (capital P) for the port, not -p. Lowercase -p means "preserve file timestamps." Using the wrong case will silently try port 22 and time out with no useful error.
On copying SSH keys vs. generating fresh ones
The stricter security position is to generate a new key on every new machine and add the new public key to GitHub. That way each machine has its own credential and you can revoke one without affecting the others. If this is a work machine that belongs to a company rather than you, generate fresh keys.
For a personal laptop that you fully control, copying an existing key is practical and fine - you are just extending an identity you already trust to a machine you own.
Step 4: Run the Bootstrap Script
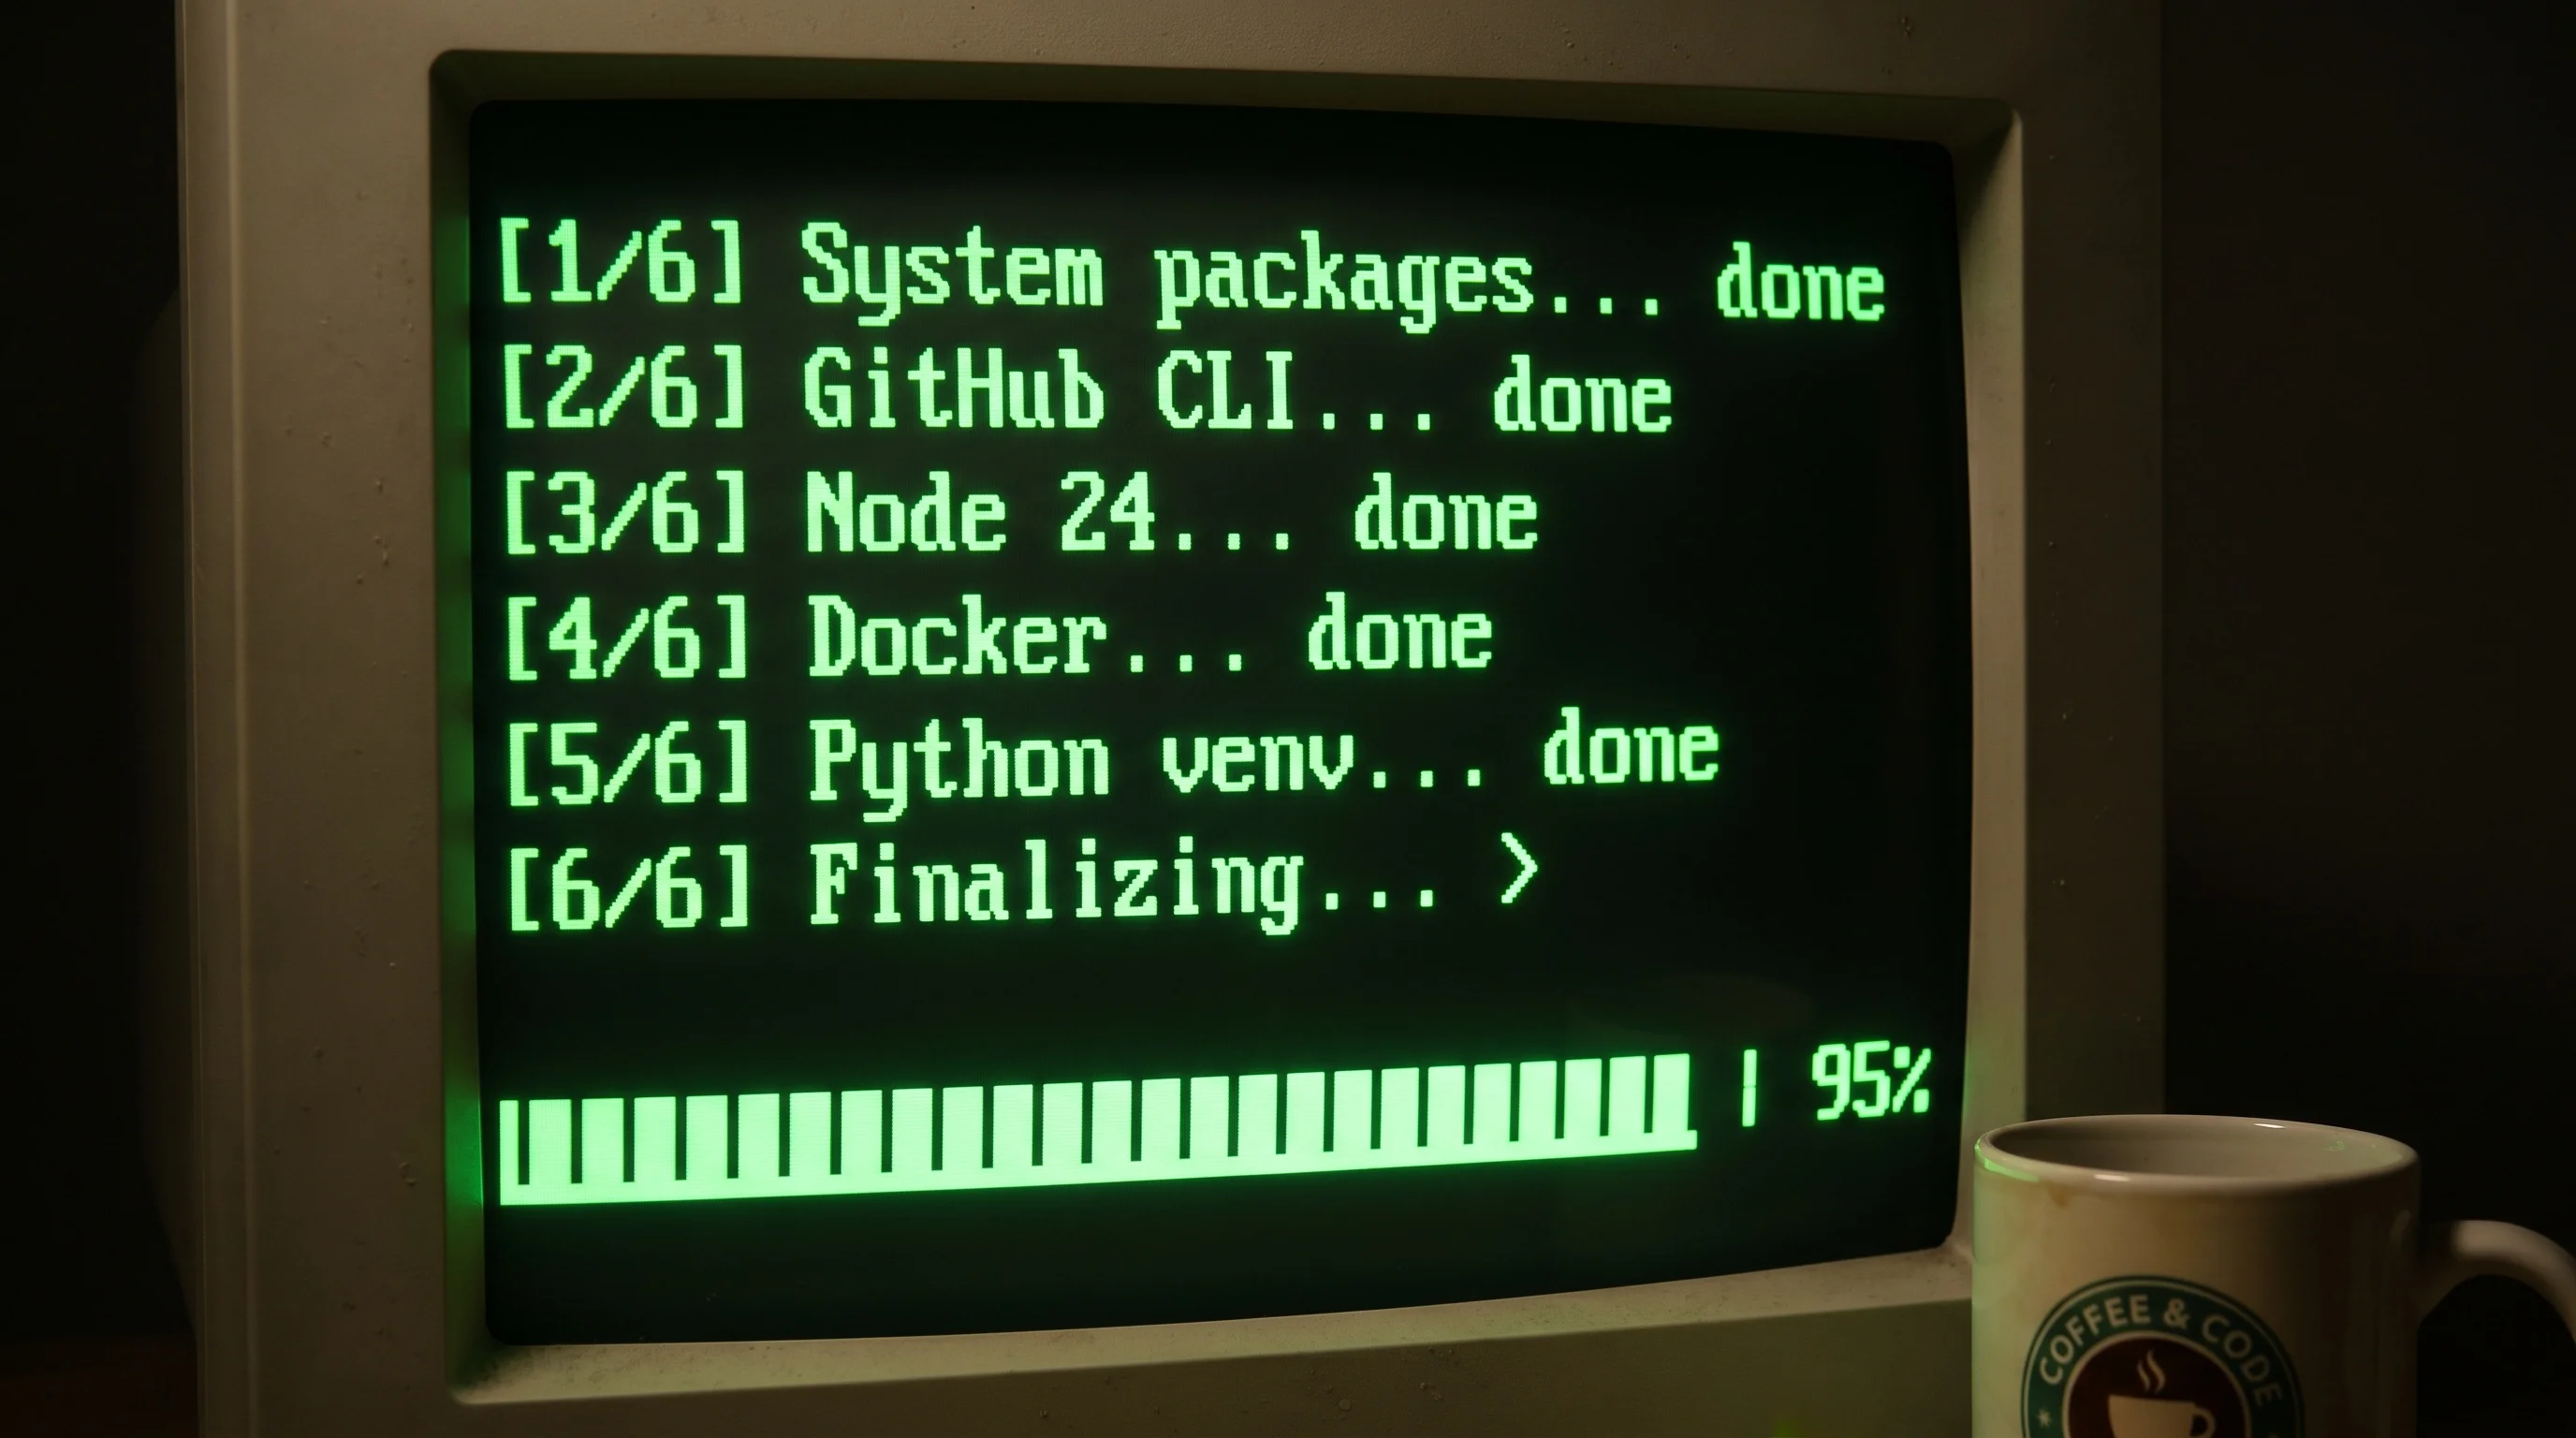
Create this on your old machine and copy it across. It handles everything that does not require interaction:
cat > /tmp/bootstrap.sh << 'SCRIPT'
#!/bin/bash
set -e

echo "=== Dev Environment Bootstrap ==="

# System packages
echo "[1/6] System packages..."
sudo apt-get update -qq
sudo apt-get install -y -qq \
  build-essential gcc make curl wget unzip \
  python3 python3-pip python3-venv \
  ffmpeg imagemagick webp \
  jq ripgrep fzf htop tmux \
  ca-certificates gnupg lsb-release \
  git-filter-repo
echo "  done"

# GitHub CLI
echo "[2/6] GitHub CLI..."
sudo mkdir -p -m 755 /etc/apt/keyrings
wget -qO- https://cli.github.com/packages/githubcli-archive-keyring.gpg \
  | sudo tee /etc/apt/keyrings/githubcli-archive-keyring.gpg > /dev/null
sudo chmod go+r /etc/apt/keyrings/githubcli-archive-keyring.gpg
echo "deb [arch=$(dpkg --print-architecture) signed-by=/etc/apt/keyrings/githubcli-archive-keyring.gpg] https://cli.github.com/packages stable main" \
  | sudo tee /etc/apt/sources.list.d/github-cli.list > /dev/null
sudo apt-get update -qq && sudo apt-get install -y -qq gh
echo "  done"

# Node via nvm
echo "[3/6] Node via nvm..."
curl -s -o- https://raw.githubusercontent.com/nvm-sh/nvm/v0.40.1/install.sh | bash
export NVM_DIR="$HOME/.nvm"
[ -s "$NVM_DIR/nvm.sh" ] && . "$NVM_DIR/nvm.sh"
nvm install 24
nvm alias default 24
corepack enable
echo "  node $(node --version) ready"

# Docker
echo "[4/6] Docker..."
curl -fsSL https://get.docker.com | sh
sudo usermod -aG docker $USER
echo "  done - run 'newgrp docker' or re-login to use without sudo"

# Global npm packages
echo "[5/6] Global npm packages..."
export NVM_DIR="$HOME/.nvm"
[ -s "$NVM_DIR/nvm.sh" ] && . "$NVM_DIR/nvm.sh"
npm install -g pnpm
npm install -g @anthropic-ai/claude-code
npm install -g @google/gemini-cli
npm install -g lighthouse
npm install -g snyk
npm install -g tsx
echo "  done"

# Core Python packages
echo "[6/6] Python packages..."
pip3 install -q anthropic openai fastapi uvicorn httpx pydantic ruff mypy pytest twine
echo "  done"

echo ""
echo "=== Bootstrap done ==="
echo "Next: run 'claude' to authenticate Claude Code, then 'docker login' if you push images"
SCRIPT
Copy it to the laptop and run it there. The reason to run it locally rather than via SSH is sudo - when you run a script over SSH without an interactive terminal, sudo blocks on authentication. Running it on the machine directly sidesteps that entirely.
scp -i ~/.ssh/id_ed25519_laptop -P 2222 /tmp/bootstrap.sh username@192.168.1.27:~/bootstrap.shThen on the laptop's WSL:
bash ~/bootstrap.shThis takes several minutes. Get a coffee.
After the bootstrap: what still needs manual auth
Most authentication was handled by the files you copied in Step 3. Three things still need a manual step:
Claude Code - the session token is machine-specific and cannot be copied. Run it once and authenticate:
claudeDocker Hub - Docker on WSL uses the Windows credential store, which does not transfer. Run docker login on the new machine:
docker login -u yourusername
# Enter your access token when prompted - not your password, use a scoped token
GitHub CLI - verify the auth transferred cleanly from the hosts.yml you copied:
gh auth status
# Should show your account name and token scopes without asking you to log in
If it does not show your account, run gh auth login to re-authenticate.
A note on what each package group is for:
- build-essential, gcc, make - compilers. Many npm and pip packages build native code on install and fail loudly without these.
- ffmpeg, imagemagick, webp - media conversion. Useful for converting screenshots, resizing images, and similar chores.
- jq - read and slice JSON from the shell. You will use it more than you expect.
- ripgrep, fzf, htop, tmux - fast search, fuzzy finding, process monitoring, and terminal sessions that survive disconnects.
- git-filter-repo - the right way to scrub secrets from git history if you ever need to.
Step 5: VS Code
Install VS Code on Windows and connect it to WSL - you edit Linux files with a Windows GUI and it feels native.
Once it is installed, the Remote WSL extension lets you open your Ubuntu home directory directly. Then reinstall your extensions. You can do it from the command line rather than clicking through the marketplace:
code --install-extension anthropic.claude-code
code --install-extension saoudrizwan.claude-dev
# Add the rest from your Phase 0 extensions list
The two extensions above are worth having regardless of what else you use - Claude Code for direct agent access and Cline as an alternative agent when you want a second opinion.
Step 6: Git and GitHub
Your .gitconfig was already copied in Step 3. Verify it looks right:
git config --global --listThe key fields: user.name, user.email, init.defaultBranch. If anything is missing:
git config --global user.name "Your Name"
git config --global user.email "you@example.com"
git config --global init.defaultBranch main
Test your GitHub SSH connection:
ssh -T git@github.com
# Should print: Hi username! You've successfully authenticated...
Then authenticate the GitHub CLI:
gh auth login
# Choose SSH, use your existing key
Step 7: Python
The system Python is already there from the bootstrap. Reinstall your user-level packages from the list you saved in Phase 0 - but do not blindly reinstall everything. Most of what pip3 list shows are dependencies pulled in by two or three real tools. Install the actual tools and let the dependencies follow:
pip3 install --user YOUR_ACTUAL_TOOLS_HEREFor project work, use virtual environments rather than installing into the system Python. It keeps projects isolated and makes it easy to nuke and rebuild a broken environment without touching anything else:
python3 -m venv .venv
source .venv/bin/activate
pip install -r requirements.txt
Step 8: Shell Config and Dotfiles
Copy the safe parts of your .bashrc - aliases, PATH additions, the nvm loader, custom key bindings. Copy the behavior, not the secrets.
scp -i ~/.ssh/id_ed25519_laptop -P 2222 ~/.bashrc username@192.168.1.27:~/.bashrc_oldThen on the new laptop, review what you copied and merge the parts you want into the existing .bashrc. Do not just overwrite it - the WSL Ubuntu .bashrc has base content you want to keep.
What belongs in .bashrc:
- Aliases (
alias ll='ls -alF', custom shortcuts) - PATH additions (
export PATH="$HOME/bin:$HOME/.local/bin:$PATH") - NVM loader lines
- Custom shell functions
What does not belong in .bashrc: API keys, tokens, passwords, or export SECRET=... lines. Those go in .env, covered next.
A good long-term habit: keep your dotfiles in a private git repo. That way setting up a new machine is just git clone and running a link script. Scrub for secrets before the first commit - dotfiles repos are the single most common place developers accidentally publish a token.
Step 9: Secrets and Environment Variables
This is the phase where people quietly create security problems.
The rules
- Secrets live in
.envfiles, never in code and never in config files. Not in.bashrc, not inCLAUDE.md, not in a README. .envis always in.gitignore. Check before the first commit on every project, every time.- Use
.env.examplefor documentation. Ship a file withYOUR_API_KEY_HEREplaceholders so others know what is needed without seeing your values. - Reference, do not duplicate. Keep shared credentials in
~/.envand have project env files reference those variables rather than copying the raw values around.
# ~/.env - shared across projects, never committed
export DOCKER_HUB_USER=yourusername
export MONGO_USERNAME=yourdbuser
export MONGO_CLUSTER=cluster0.xxxxx.mongodb.net
# project/.env - project-specific, also gitignored
DB_NAME=myapp
MONGODB_URI=mongodb+srv://${MONGO_USERNAME}:${MONGO_PASSWORD}@${MONGO_CLUSTER}/${DB_NAME}Generate new tokens for the new machine
When you need a GitHub Personal Access Token, a Docker registry token, or an npm auth token on the new machine - create a new one scoped to what this machine actually needs rather than copying an existing token from the old machine. That way you can revoke this machine's access without breaking the desktop, and a leak from one machine does not compromise the other.
Log in to your registries after the env file is in place:
source ~/.env
docker login -u "$DOCKER_HUB_USER"
# Enter your access token when prompted - not your password
One warning worth saying out loud
Config files like CLAUDE.md feel private but they are not. They get copied to new machines, appear in screenshots, and can get committed by accident. A token pasted into CLAUDE.md is effectively public. Reference it by name ($GITHUB_TOKEN) and keep the value in .env. If you find a hardcoded token in your config files right now, rotate it before this machine goes anywhere.
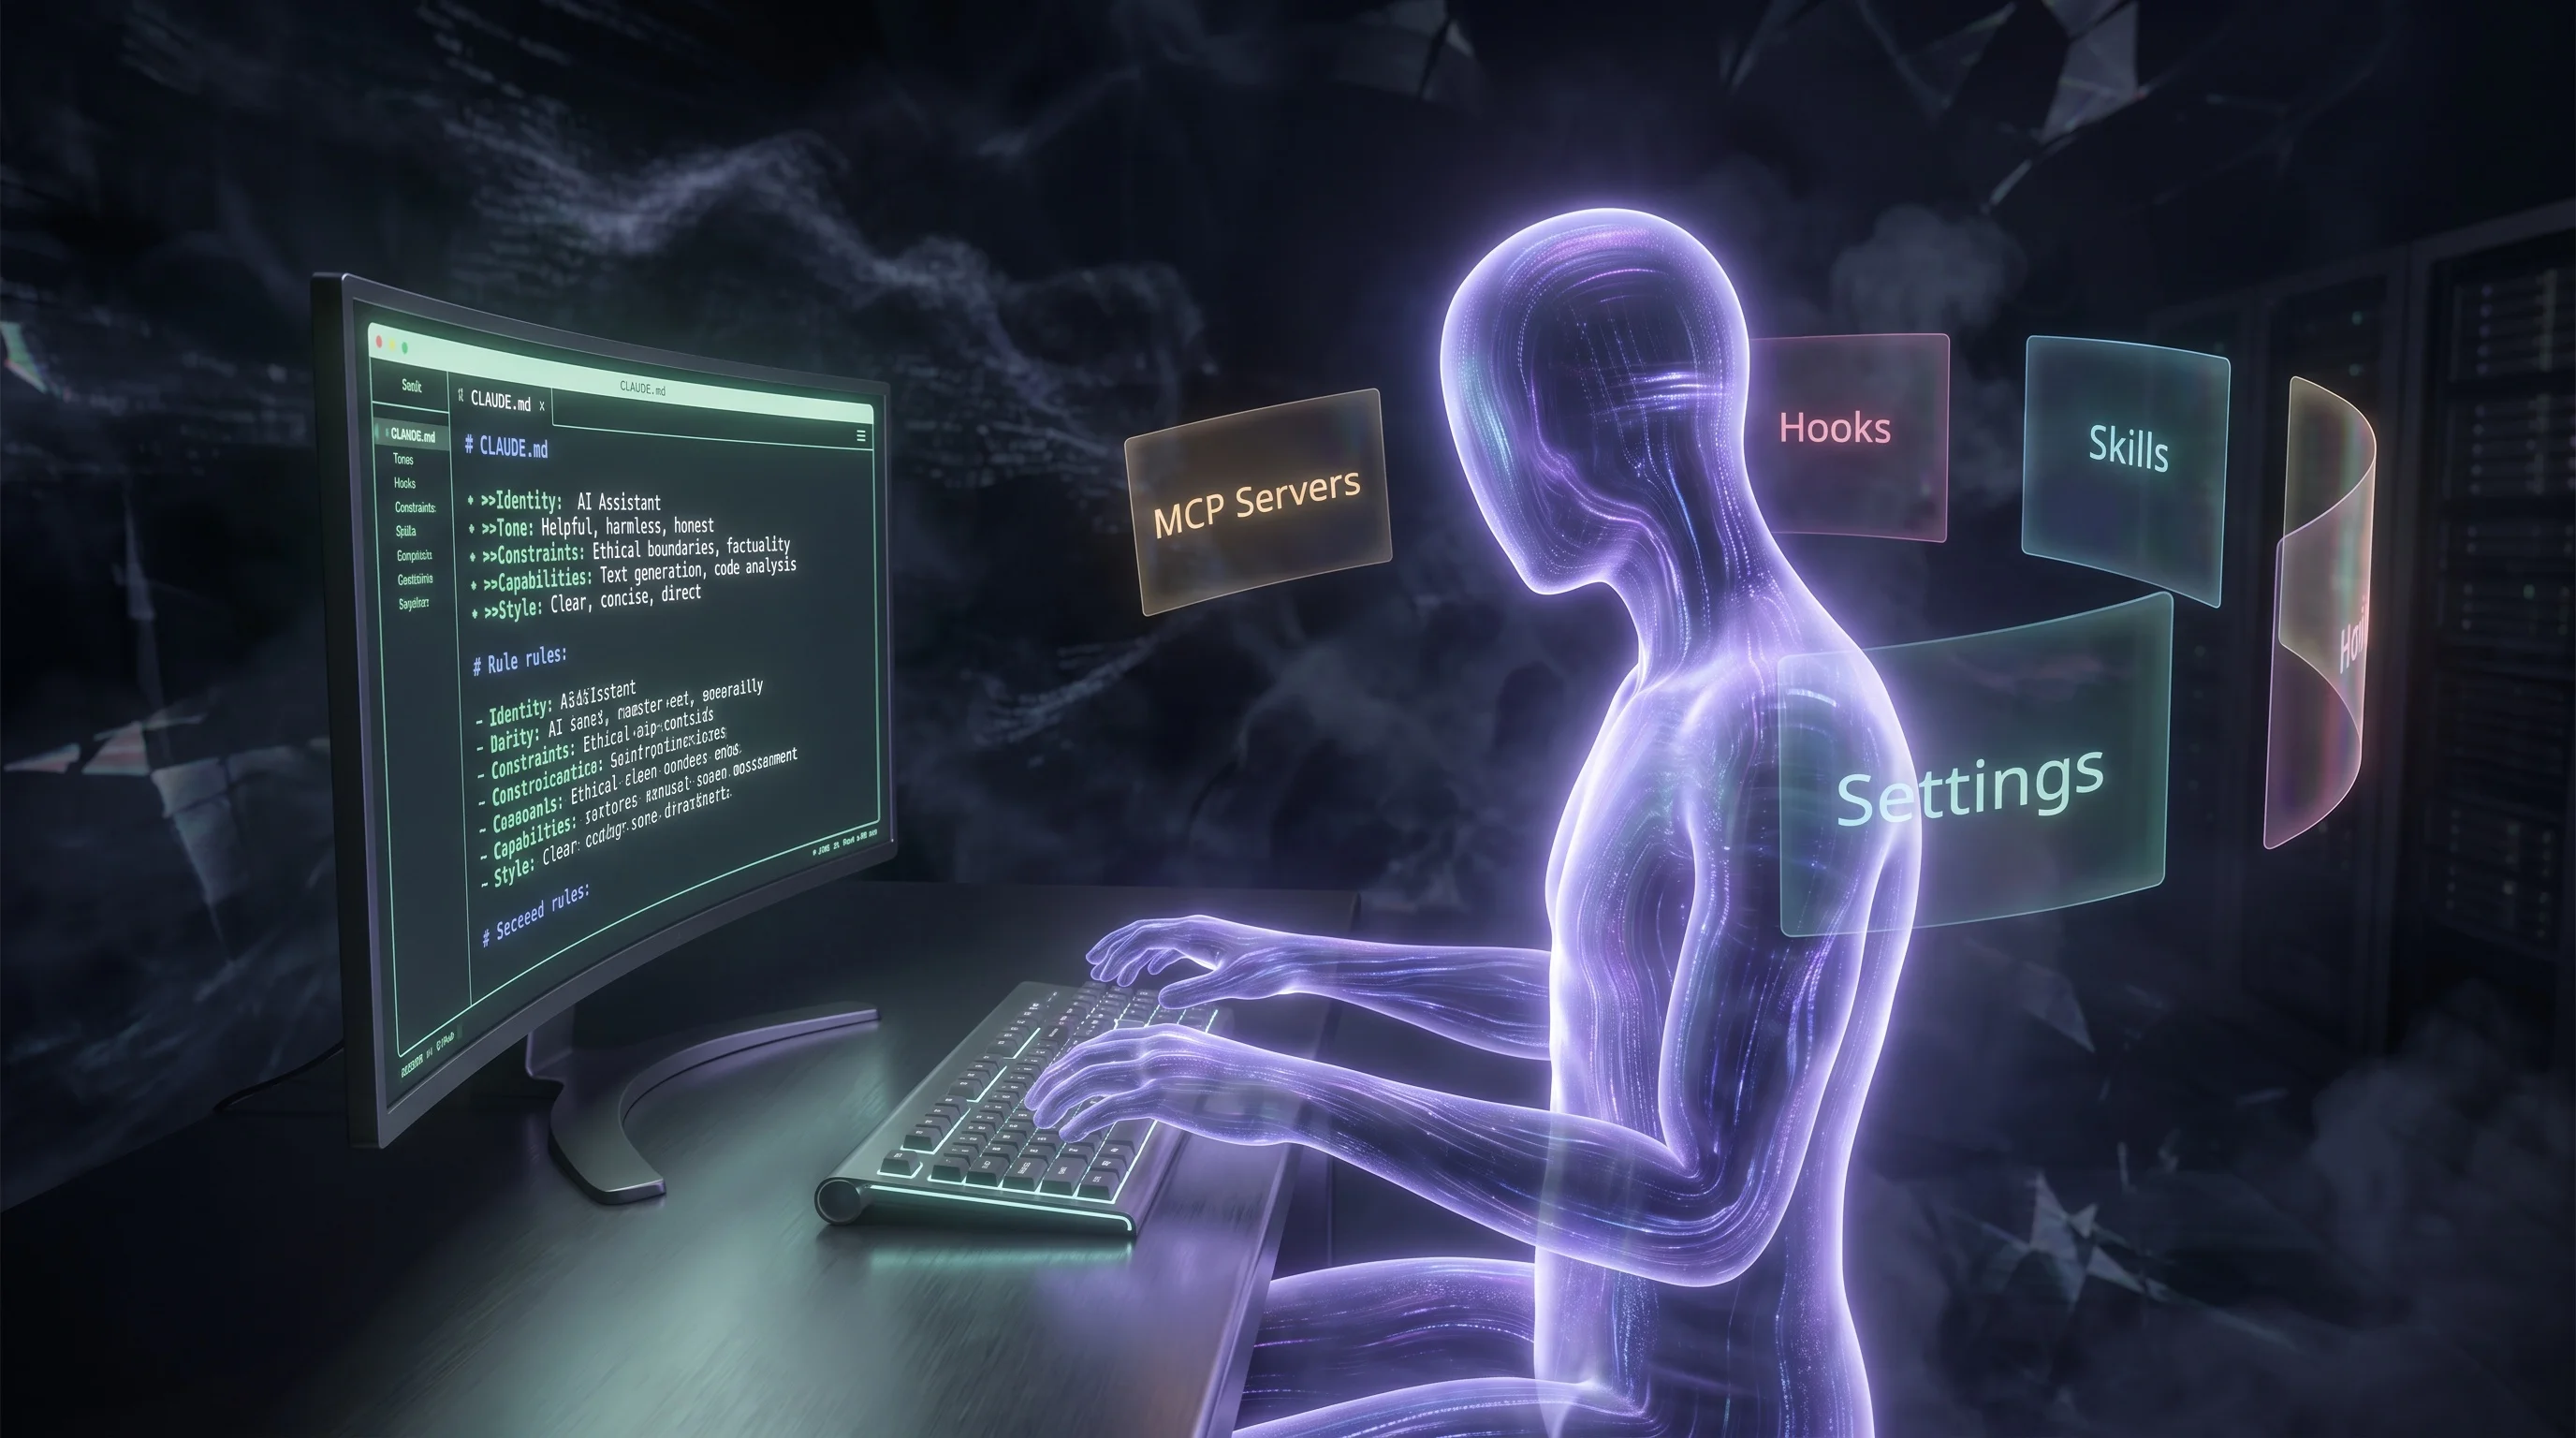
Step 10: The Claude Code Setup
Installing Claude Code is one line. The configuration that makes it actually useful is the part most people skip.
Install and Authenticate
npm install -g @anthropic-ai/claude-code
claude
The first time you run claude it walks you through authentication. After that, three things do all the work: the global CLAUDE.md, settings.json, and your hook scripts.
The Global CLAUDE.md
~/.claude/CLAUDE.md is the most impactful file in the whole setup. Claude reads it at the start of every session in every project. It is where you define rules that apply everywhere - not just coding conventions, but hard constraints and behaviors you never want to explain twice.
A real global CLAUDE.md covers:
Absolute never-do rules. The mistakes you cannot undo. Examples from a production setup:
- Never publish sensitive data to git, npm, or Docker
- Never commit
.envfiles - verify gitignore before the first commit on any project - Never create public GitHub repos by default - always private
- Never auto-deploy to production without explicit confirmation
- Never push a Docker image without running and testing it locally first
Project setup templates. What every new project must have - .env file, .gitignore entries, error handling boilerplate. Define it once globally and Claude applies it to every new project automatically.
Writing conventions. If Claude generates markdown for you, control the style here. No em dashes, no AI buzzwords, no spec-sheet numbers in prose - whatever your voice requires.
GitHub account routing. Which SSH key maps to which account, which account to use by default. Defining this globally means Claude never pushes to the wrong account.
Deployment checklists. Analytics verification, environment variable checks, Docker test protocols. Anything that needs to happen before docker push or vercel deploy goes here.
To copy it to the new machine (after verifying no tokens are hardcoded in it):
scp -i ~/.ssh/id_ed25519_laptop -P 2222 ~/.claude/CLAUDE.md username@192.168.1.27:~/.claude/CLAUDE.mdThe settings.json
~/.claude/settings.json controls the Claude Code runtime - which model it uses, which MCP servers are active, what hooks run, and what permissions are pre-approved.
{
  "model": "opus",
  "skipDangerousModePermissionPrompt": true,
  "mcpServers": {
    "context7": {
      "command": "npx",
      "args": ["-y", "@upstash/context7-mcp"]
    },
    "playwright": {
      "command": "npx",
      "args": ["-y", "@playwright/mcp"]
    }
  },
  "hooks": {
    "SessionStart": [...],
    "PreToolUse": [...],
    "PostToolUse": [...]
  }
}
The model field matters. opus is the right default for complex engineering work. sonnet is faster for lighter tasks. Set it to match how you actually work.
MCP Servers
MCP (Model Context Protocol) servers extend what Claude can do in a session. They are the difference between Claude guessing at a library from training data and Claude reading the current docs in real time.
context7 - Pulls live documentation for any library you ask about. This alone removes a whole category of hallucinated API signatures.
claude mcp add context7 -- npx -y @upstash/context7-mcpplaywright - Drives a real browser. Useful for testing UI changes, scraping, and verifying that what the code does matches what the page shows.
claude mcp add playwright -- npx -y @playwright/mcpA memory server - Carries context across sessions. Without this, Claude starts fresh every time. With it, architectural decisions, naming conventions, and past debugging context persist between conversations. The reference setup uses a MongoDB-backed memory server that syncs across machines automatically, so switching machines does not lose any context.
npm install -g claude-memory-storeFor project-specific MCP servers (database clients, deployment tools, internal APIs), add them in the project's .claude/settings.json rather than the global one - they only activate in the right context.
One security note: MCP servers can read files, hit the network, and run code. Only add servers you trust. Be deliberate about which ones get filesystem or database access, especially on a work machine.
Hooks
Hooks are shell commands that Claude Code runs automatically at specific points in a session. They are how you enforce rules that cannot be stated in a prompt.
SessionStart - Runs once when a session opens. Good for injecting project context or logging that work began.
PreToolUse - Runs before Claude calls any tool. The reference setup uses this for a branch guard - if Claude is about to write to a file on the wrong branch, the hook blocks it and explains why before any damage is done.
PostToolUse - Runs after a tool completes. Used for syncing documentation, updating project state, or triggering activity logging after a file write.
Stop - Runs when Claude finishes a response. Good for flushing logs or sending a desktop notification.
Hooks live in ~/.claude/hooks/ for global ones, or .claude/hooks/ inside a project. They are just shell scripts. They can exit non-zero to block a tool call entirely.
The Full Claude Config Copy
Once you have verified CLAUDE.md has no hardcoded secrets:
SCP="scp -i $HOME/.ssh/id_ed25519_laptop -P 2222"
TARGET="username@192.168.1.27"

$SCP ~/.claude/CLAUDE.md $TARGET:~/.claude/CLAUDE.md
$SCP ~/.claude/settings.json $TARGET:~/.claude/settings.json
$SCP -r ~/.claude/hooks/ $TARGET:~/.claude/hooks/
$SCP -r ~/.claude/skills/ $TARGET:~/.claude/skills/
$SCP -r ~/.claude/commands/ $TARGET:~/.claude/commands/
After copying, open a session on the new machine and run a skill like /memory or /mdd. If it responds correctly, the Claude setup transferred cleanly.
What Still Needs Manual Work
- Claude authentication - run
claudeand authenticate. The session token is machine-specific. - MCP servers that reference local project paths - any server whose config contains an absolute path like
/home/you/projects/somethingwill break until that project is cloned. Checksettings.jsonfor absolute paths and update them. - Hooks that depend on local tools - if a hook calls a binary that is not installed yet, it fails silently. Check each hook script's dependencies.
- Memory database connection - if your memory server uses a hosted database, the connection string needs to be in
.env. The data is in the cloud already - you just need the credentials.
Step 11: Make SSH Persistent
The WSL SSH service stops when WSL restarts. Add this to .bashrc on the new machine so it starts automatically whenever you open a terminal:
if ! pgrep -x sshd > /dev/null; then
  sudo service ssh start 2>/dev/null
fi
You also need a sudoers entry so this does not prompt for a password every time:
echo "$USER ALL=(ALL) NOPASSWD: /usr/sbin/service ssh start" | sudo tee /etc/sudoers.d/ssh-startThe Payoff: Hand Off to Claude
At this point Claude Code is installed and authenticated on the new machine. Hand it the inventory from Phase 0 and let it fill in whatever the bootstrap script did not cover:
I'm setting up a new work laptop to match my existing machine. Here's what my old machine has:

[paste your npm ls -g --depth=0 output]
[paste your pip3 list --user output]
[paste your code --list-extensions output]

Walk through installing what's missing. Before installing anything, tell me what it is and why I had it.
Skip anything that looks like a dependency rather than a tool I use directly.
If something needs a credential, stop and tell me - don't try to configure it yourself.
Claude can diff what is already installed against your list, install the missing globals, set up MCP servers, recreate shell aliases, and verify everything is wired together - while you confirm each step. The judgment of "do I actually want this" stays with you. The typing does not.
Final Checklist
- [ ] WSL installed, username matches old machine, base system updated
- [ ] New laptop reachable via SSH from old machine
- [ ] Config files copied: SSH keys,
.gitconfig,.npmrc,.env,.ssh/config,~/.config/gh/hosts.yml - [ ] Bootstrap complete: system packages, gh, Node 24, Docker, global npm tools, Python
- [ ] VS Code connected to WSL, extensions reinstalled
- [ ]
ssh -T git@github.comsucceeds on the new machine - [ ]
gh auth statusshows your account (no login needed if hosts.yml was copied) - [ ]
.bashrcaliases and PATH entries transferred (no secrets in it) - [ ]
.envon the new machine reviewed - tokens rotated, nothing shared with old machine - [ ]
.envis in.gitignorein every project cloned - [ ] Claude Code installed, authenticated,
claudeopens a session - [ ]
~/.claude/CLAUDE.mdtransferred and verified clean of hardcoded credentials - [ ]
~/.claude/settings.jsontransferred, MCP servers working - [ ] Hook scripts transferred, dependencies verified installed
- [ ] Memory server connected (if applicable)
- [ ] SSH auto-start added to
.bashrc - [ ] Docker:
docker run --rm hello-worldpasses
Troubleshooting
wsl --install fails with "Logon Failure" on a corporate machine
This is a Group Policy restriction - IT has locked down package installation. The wsl --install command tries to pull distros from the Microsoft Store, which is often blocked on domain-joined machines. Work through these in order.
First, check if the WSL feature itself is enabled. Press Win + R, type optionalfeatures.exe, and look for "Windows Subsystem for Linux". If it is not ticked, you need IT to enable it before anything else will work.
If the feature is already ticked, the restriction is just on the Store-based installer. Try downloading the appxbundle directly from Microsoft's CDN - this bypasses the Store entirely:
Invoke-WebRequest -Uri "https://wslstorestorage.blob.core.windows.net/wslblob/Ubuntu2404-240425.AppxBundle" -OutFile "$env:TEMP\ubuntu2404.msixbundle" -UseBasicParsing
Add-AppxPackage "$env:TEMP\ubuntu2404.msixbundle"
One thing to watch: the aka.ms shortlinks (like https://aka.ms/wslubuntu2404) download an HTML redirect page of around 80KB, not the actual package. If your downloaded file is under 100KB, that is what happened. Use the direct CDN URL above instead.
If Add-AppxPackage also fails, use wsl --import with a rootfs tarball from Canonical. This completely bypasses the appx/Store system and only needs the WSL feature to be on:
mkdir C:\WSL\Ubuntu24
Invoke-WebRequest -Uri "https://cloud-images.ubuntu.com/wsl/noble/current/ubuntu-noble-wsl-amd64-wsl.rootfs.tar.gz" -OutFile "$env:TEMP\ubuntu24-rootfs.tar.gz" -UseBasicParsing
wsl --import Ubuntu-24.04 C:\WSL\Ubuntu24 "$env:TEMP\ubuntu24-rootfs.tar.gz"
wsl -d Ubuntu-24.04
The wsl --import method logs you in as root by default. Create your normal user straight after:
useradd -m -s /bin/bash yourusername
passwd yourusername
usermod -aG sudo yourusername
If none of the above work, raise an IT ticket. Since the WSL feature is already enabled they have clearly approved WSL in principle - the ask is just: "Please install Ubuntu 24.04 on WSL2. The WSL feature is enabled but distribution installation is blocked by policy." That is usually a quick fix for them.
SSH times out connecting to the laptop
The WSL SSH service stopped. On the laptop's WSL run sudo service ssh start. The port forwarding rule survives Windows reboots, but WSL can get a new internal IP after a reinstall. If the IP changed, update the rule:
netsh interface portproxy delete v4tov4 listenport=2222 listenaddress=0.0.0.0
netsh interface portproxy add v4tov4 listenport=2222 listenaddress=0.0.0.0 connectport=22 connectaddress=NEW_WSL_IP
scp silently fails or times out on port 22
You used -p instead of -P. scp is the odd one out in the SSH tooling - it uses capital -P for port. Update your command.
sudo: a terminal is required to authenticate
You are running a sudo command over SSH without an interactive terminal. Run the script locally on the new machine instead of via SSH. That is why the bootstrap script gets copied over and run there rather than piped through SSH.
nvm: command not found after installing
nvm modifies .bashrc but the current session does not reload it automatically. Source it:
export NVM_DIR="$HOME/.nvm" && [ -s "$NVM_DIR/nvm.sh" ] && . "$NVM_DIR/nvm.sh"Docker: permission denied
The usermod -aG docker change requires a new login session. Run newgrp docker to activate it in the current terminal without logging out.
A hook fails silently on the new machine
Check that every binary the hook calls is installed. Hook scripts fail without output when a command is not found. Run the hook script manually from the terminal to see the actual error.
MCP server errors on first session
If a server references an absolute path to a local project that has not been cloned yet, it will fail at session start. Open ~/.claude/settings.json, find the server's config, and either update the path or remove it until the project is cloned.
Discussion
0 commentsLoading comments...